Toggle themes with Javascript Interop in Blazor
For people like me that suffer from flashbacks every time I open a webpage, I’ve come up with a super simple solution on how to toggle between light and dark mode using Javascript and calling it from Blazor using Javascript Interop.

Setting the parent attribute
First of all, we have to identity the parent element with an identifier, this is because we change the colors depending on the value of that identifier.
In order to do that in Javascript, we would have to run this command
document.documentElement.setAttribute('data-theme', 'YOUR_IDFENTIFIER');
In our case, we want to have two identifiers for each type of style, which are light and dark.
Creating Javascript file to handle the logic
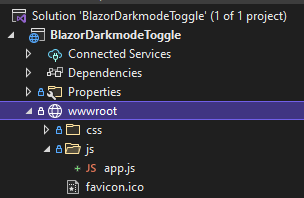
We now have the function to update the identifier, now let’s create a Javscript file with a function that runs that logic. Our file is going to be called app.js
In that file, we will have a function that will call the code we mentioned earlier.
var toggleTheme = function (identifier) {
    document.documentElement.setAttribute('data-theme', identifier);
}
Adding Javascript file to Blazor
Add the script to the Blazor application by adding it where the scripts are located.
<script src="~/js/app.js"></script>
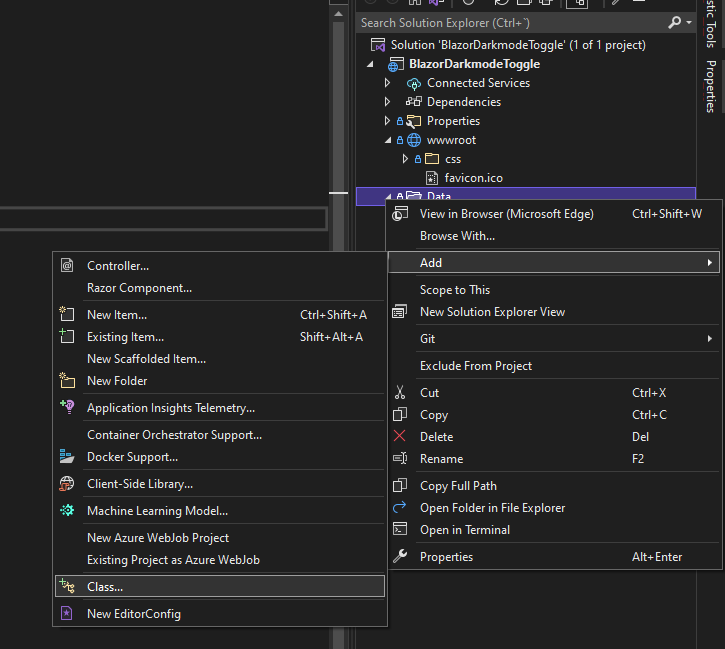
Creating the service
Now that we have the Javascript code, we need to create a service that’s going to be called ThemeToggleService.
This service will handle the logic to toggle between the light and dark theme.
Injecting JSInterop
In order to call any Javascipt, we have to call the JSInterop, so we have to create a property that will inject.
using Microsoft.AspNetCore.Components;
using Microsoft.JSInterop;

namespace BlazorDarkmodeToggle.Data
{
    private readonly IJSRuntime jSRuntime;

    public ThemeToggleService(IJSRuntime jSRuntime)
    {
        this.jSRuntime = jSRuntime;
    }
}
Function to set the identifier
Now that we have the service created, let’s create the function to set the identifier, this function will just update the data-theme in the page.
using Microsoft.AspNetCore.Components;
using Microsoft.JSInterop;

namespace BlazorDarkmodeToggle.Data
{
    public class ThemeToggleService
    {
        private readonly IJSRuntime jSRuntime;

        public ThemeToggleService(IJSRuntime jSRuntime)
        {
            this.jSRuntime = jSRuntime;
        }

        public bool IsLightTheme { get; set; } = true;
        public string GetIdentifier => IsLightTheme ? "light" : "dark";

        public async Task ToggleTheme() {
            IsLightTheme = !IsLightTheme;
            await jSRuntime.InvokeVoidAsync("toggleTheme", GetIdentifier);
        }
    }
}
Add service to startup
In order to make the service available for all the components and pages, we have to add it to the Program.cs file.
builder.Services.AddSingleton<ThemeToggleService>();
So the file will end up like this
using BlazorDarkmodeToggle.Data;
using Microsoft.AspNetCore.Components;
using Microsoft.AspNetCore.Components.Web;

var builder = WebApplication.CreateBuilder(args);

// Add services to the container.
builder.Services.AddRazorPages();
builder.Services.AddServerSideBlazor();
builder.Services.AddSingleton<WeatherForecastService>();
builder.Services.AddSingleton<ThemeToggleService>();

var app = builder.Build();

// Configure the HTTP request pipeline.
if (!app.Environment.IsDevelopment())
{
    app.UseExceptionHandler("/Error");
    // The default HSTS value is 30 days. You may want to change this for production scenarios, see https://aka.ms/aspnetcore-hsts.
    app.UseHsts();
}

app.UseHttpsRedirection();

app.UseStaticFiles();

app.UseRouting();

app.MapBlazorHub();
app.MapFallbackToPage("/_Host");

app.Run();
Keep in mind that this can change depending on if you use Blazor Server or Blazor WebAssembly.
Baking the CSS
Now that we have part of the code ready, we have to start working on the CSS. What we have to do is to set all the css properties that handle the css colors, background, etc to a variable.
:root {
    --background-color:#ffffff;
    --text-color:#000000;
}
Once we have done this, using the identifier, we can easily change between the identifiers, and it will use either one of other value.
[data-theme="dark"] {
    --background-color: #000000;
    --text-color: #ffffff;
}
For the cool animation fading, we’ll just add a transition property to all, so it looks good.
* {
    transition: all 250ms;
}
Now we will assign this variables to some css classes, so we can see them on the Blazor page.
.app-background {
    background-color: var(--background-color);
    width: 200px;
    height: 200px;
}

.app-text {
    color: var(--text-color);
}
Remember to add the file to the Blazor application by adding it on the head.
<link href="css/app.css" rel="stylesheet" />
Calling from Blazor
So how are we going to test this? To keep it simple, we are just going to add a div with the app-background class, and inside it’ll have a p with the app-text class.
So let’s create a page called Theme.razor under the Pages folder and add some code for that
@page "/theme"
@using BlazorDarkmodeToggle.Data
@inject ThemeToggleService ThemeToggleService

<button class="btn btn-primary" @onclick=Toggle>Toggle theme</button>

<br />

<div class="app-background">
    <p class="app-text">Hello world!</p>
</div>

@code{
    public async Task Toggle()
    {
        await this.ThemeToggleService.ToggleTheme();
    }
}
We could test this by going to /theme, but let’s also add it to the navbar
<div class="nav-item px-3">
    <NavLink class="nav-link" href="theme">
        <span class="oi oi-list-rich" aria-hidden="true"></span> Theme togle
    </NavLink>
</div>
Testing
As you can see, as soon as we toggle the theme, background and font color changes, now you can see how powerful this is, if you actually develop the entire page using this variables on CSS, you could have different themes and just toggle them!
How awesome!!
Code
This entire project is on Github and you can find it here!
If you have any issues or question, feel free to contact me on any social media at @emimontesdeoca (in Twitter is actually @emimontesdeocaa with two aa at the end). You can also find most of my socials on the blog’s header.
Hope you liked the post!